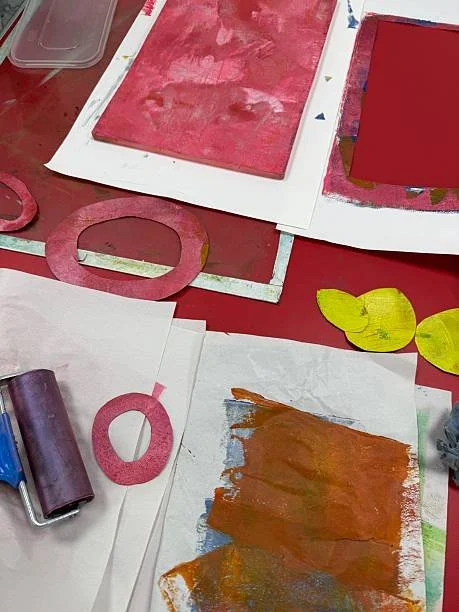
Easy at home printing with a gel plate.
Learn simple gel printing at home with easy layering, texture tips and playful mark-making. No press needed, just creativity and curiosity.
Getting Started Without a Press
Gel printing is one of those techniques that looks a bit fancy until you realise you can do it at your kitchen table with very little fuss. No printing press, no complicated setup, and definitely no need to clear out the entire house (unless you want to, in which case, enjoy your moment).
It’s a brilliant process for mixed media artists because it gives you layers, texture, and unexpected marks that are perfect for collage, painting surfaces, or just playing around when your brain needs a creative reset.
If you’ve ever thought, “I’d like to try printmaking but I don’t have the gear,” this is your friendly entry point.
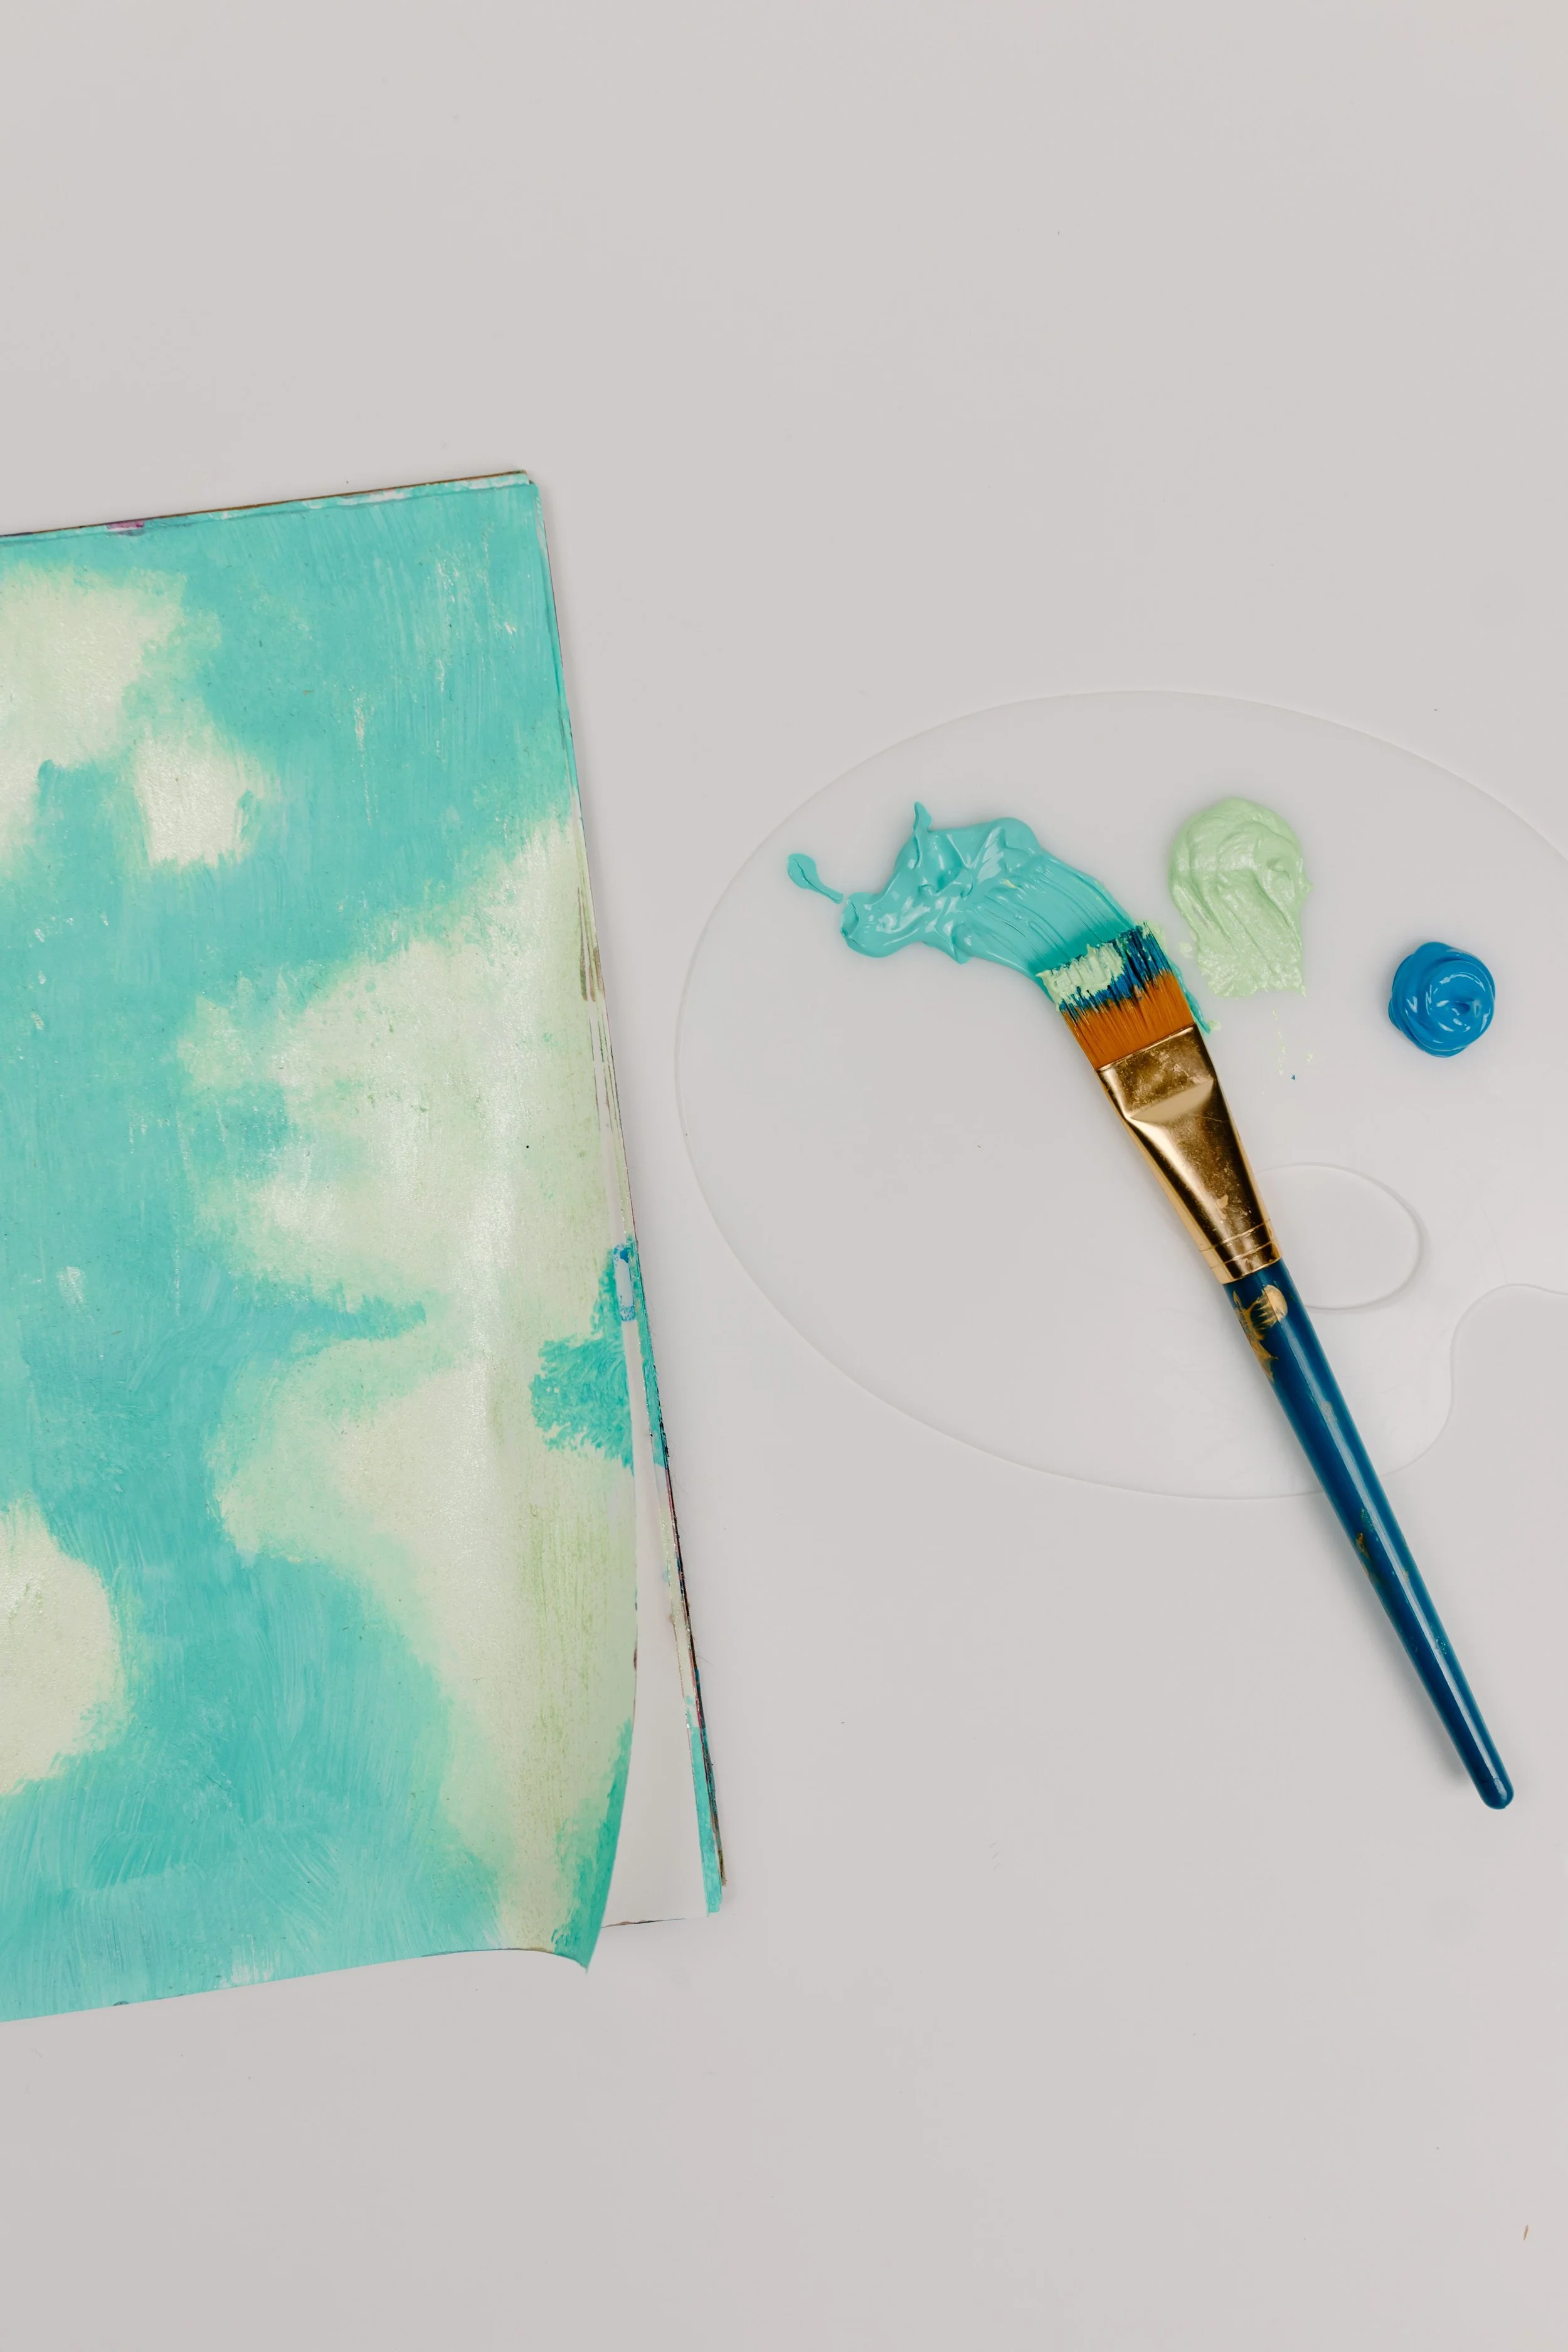
A fresh layer of paint ready for printing magic
What You Need to Get Started
You really don’t need much.
A gel plate, acrylic paint, a brayer (roller), paper, and something to make marks with. That’s it.
The beauty of this process is that everyday objects become tools. A bit of bubble wrap, cardboard edges, an old comb, even the bottom of a takeaway container lid can suddenly become interesting mark-making tools.
If you’re anything like me, you’ll start looking at household objects slightly differently after about 10 minutes of printing. That’s normal.
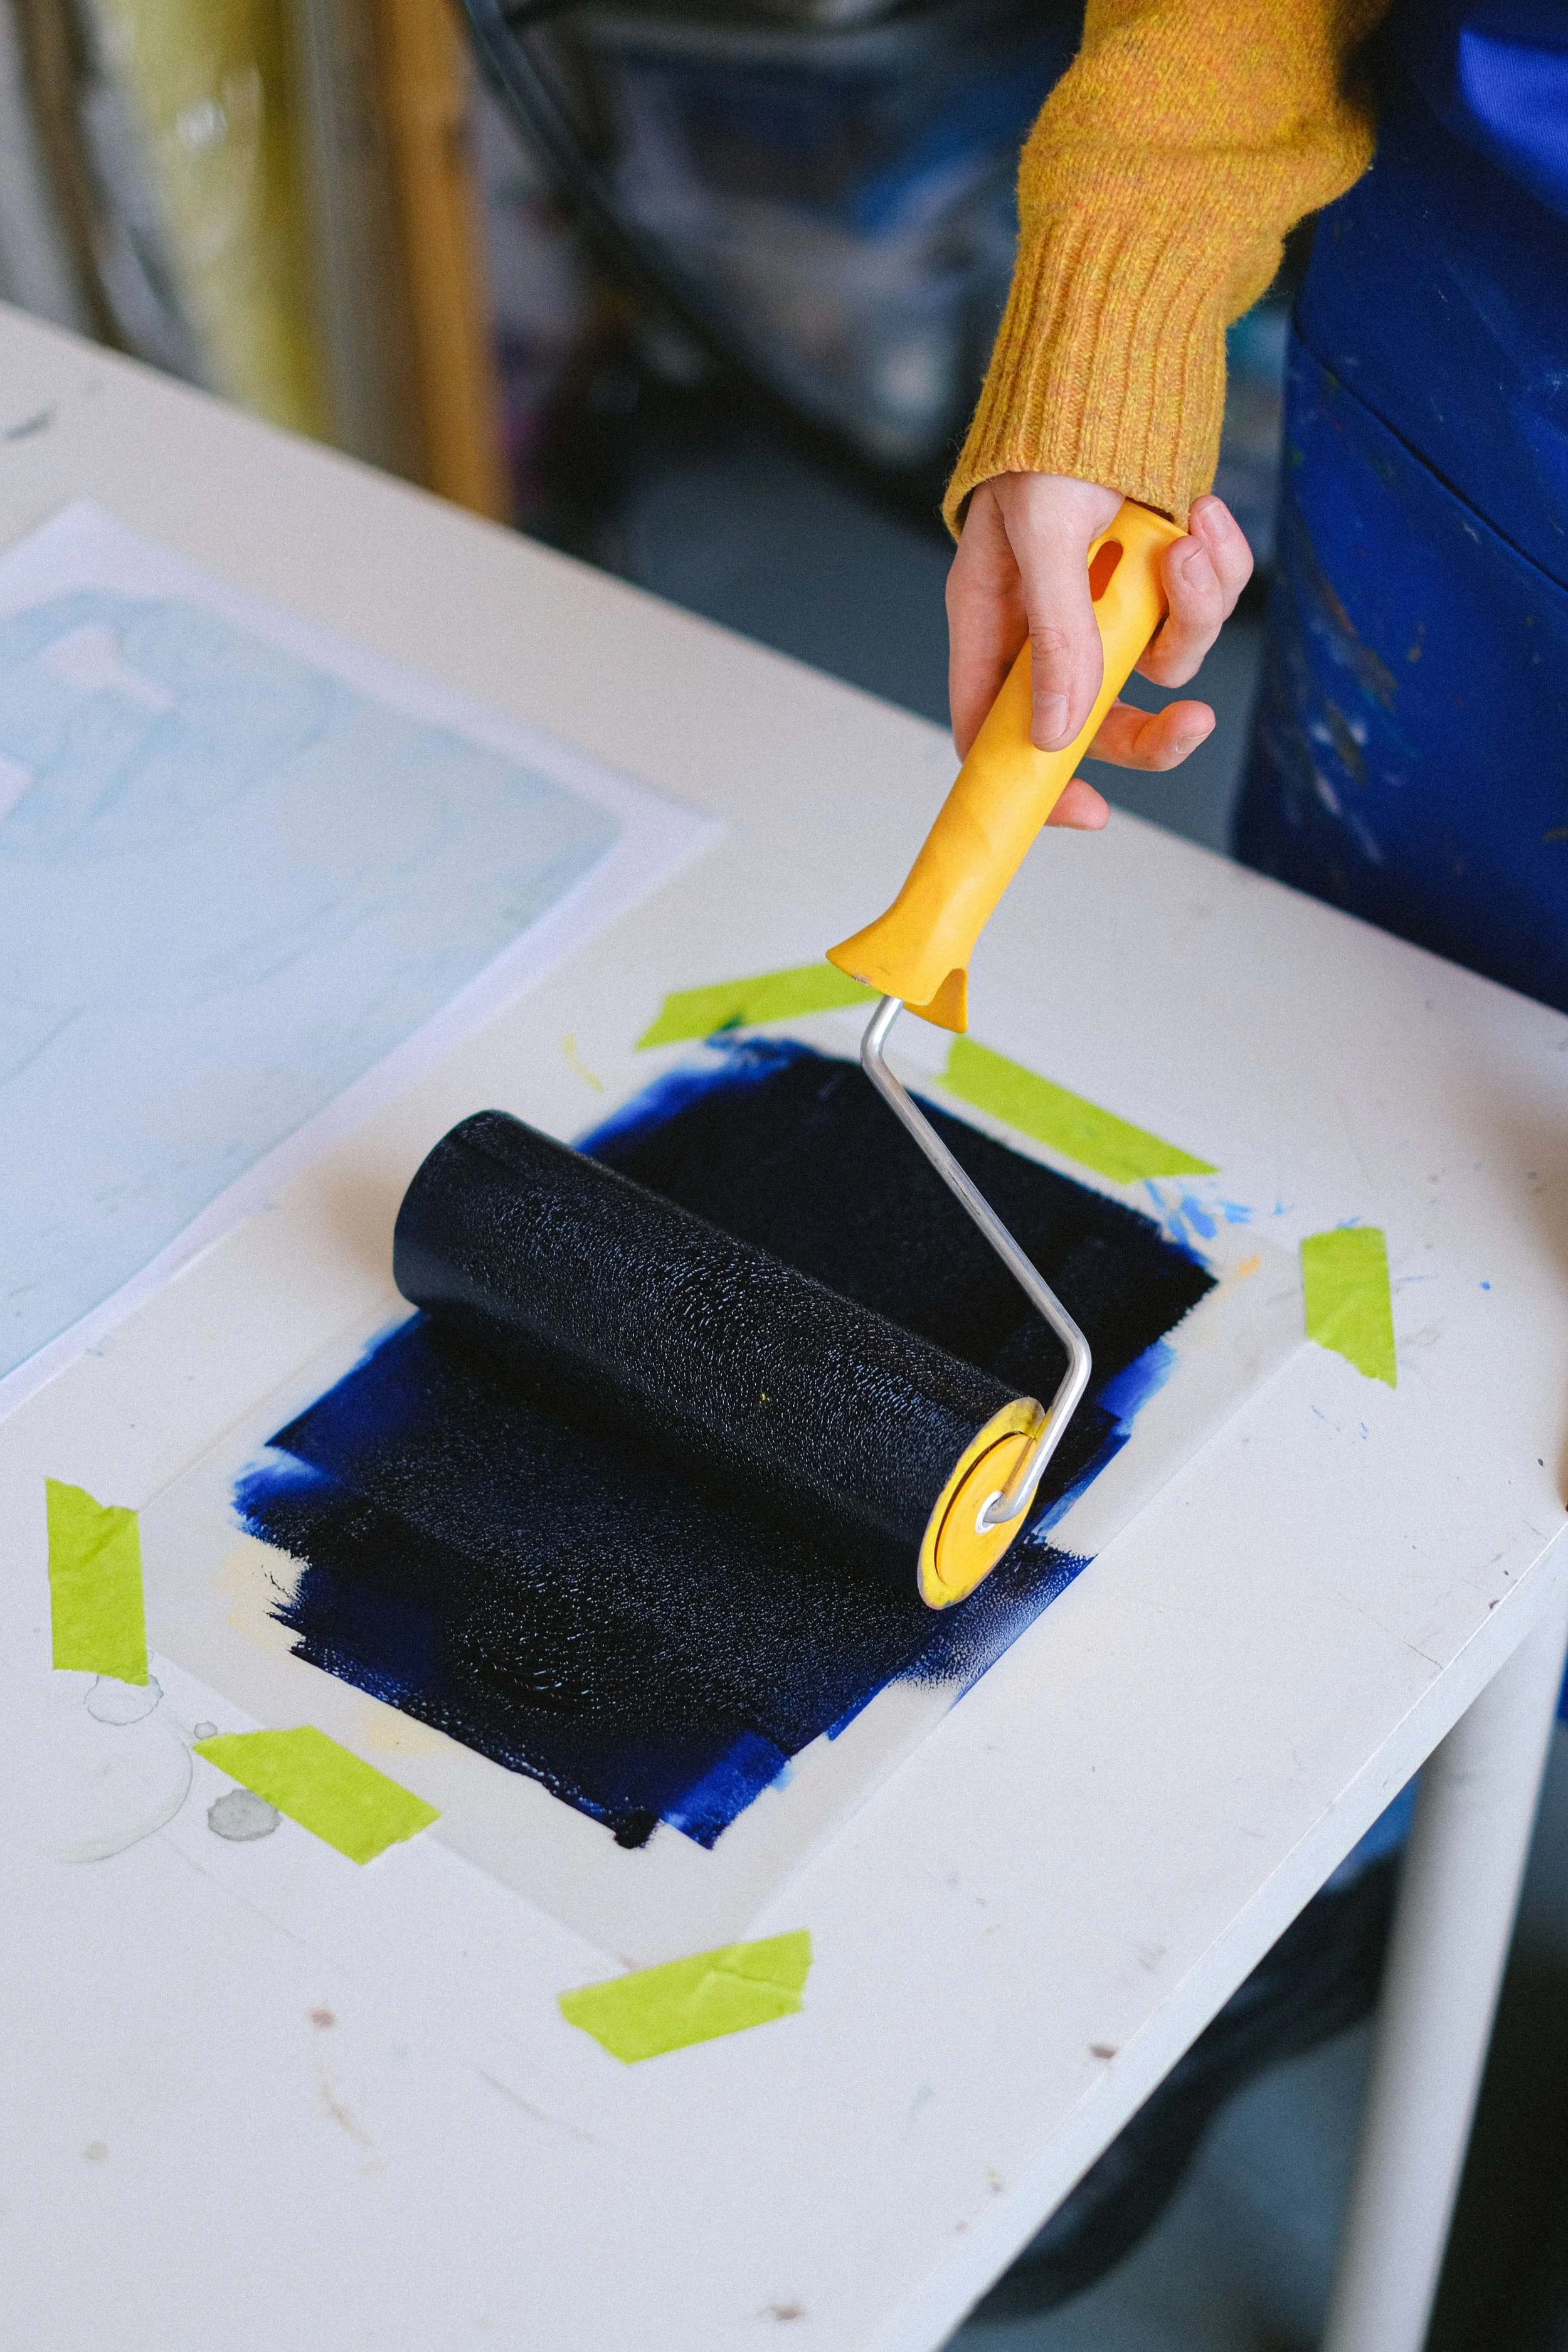
Rolling paint evenly for a smooth base layer
Setting Up a Simple Space
Pick a surface you don’t mind getting a little messy. A kitchen bench, a table covered in baking paper, or even a piece of cardboard will do.
Keep your paint small and accessible. This is not the time for squeezing out half a tube “just in case.” Gel printing works best when things stay fluid and flexible.
Have a few sheets of paper ready and close by. Once you start, things move quickly and you don’t want to be hunting for paper while your paint dries into a sad little patch.
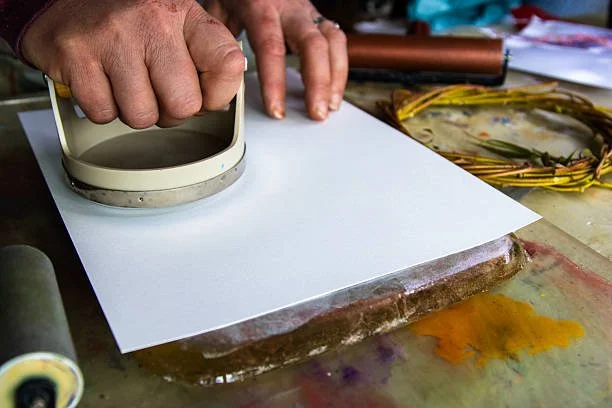
Just before the reveal moment every gel printer loves.
Step-by-Step Gel Printing Process
Here’s a simple way to get started without overthinking it:
Roll out a thin layer of paint
Use your brayer to spread acrylic paint across the gel plate. You want a smooth, even coat, not a thick puddle.Add texture or marks
Press objects into the paint or draw into it with tools. Think leaves, cardboard shapes, or even the edge of a credit card.Place paper on top
Gently lay your paper down. No need to press hard yet.Transfer the image
Smooth the paper with your hands or a clean brayer. You’re encouraging contact, not forcing it.Lift the print slowly
Peel the paper back carefully and reveal your print. This is always a bit like opening a present you forgot you bought yourself.Repeat and layer
Don’t stop at one layer. Let each print dry and build over it. This is where things get interesting.
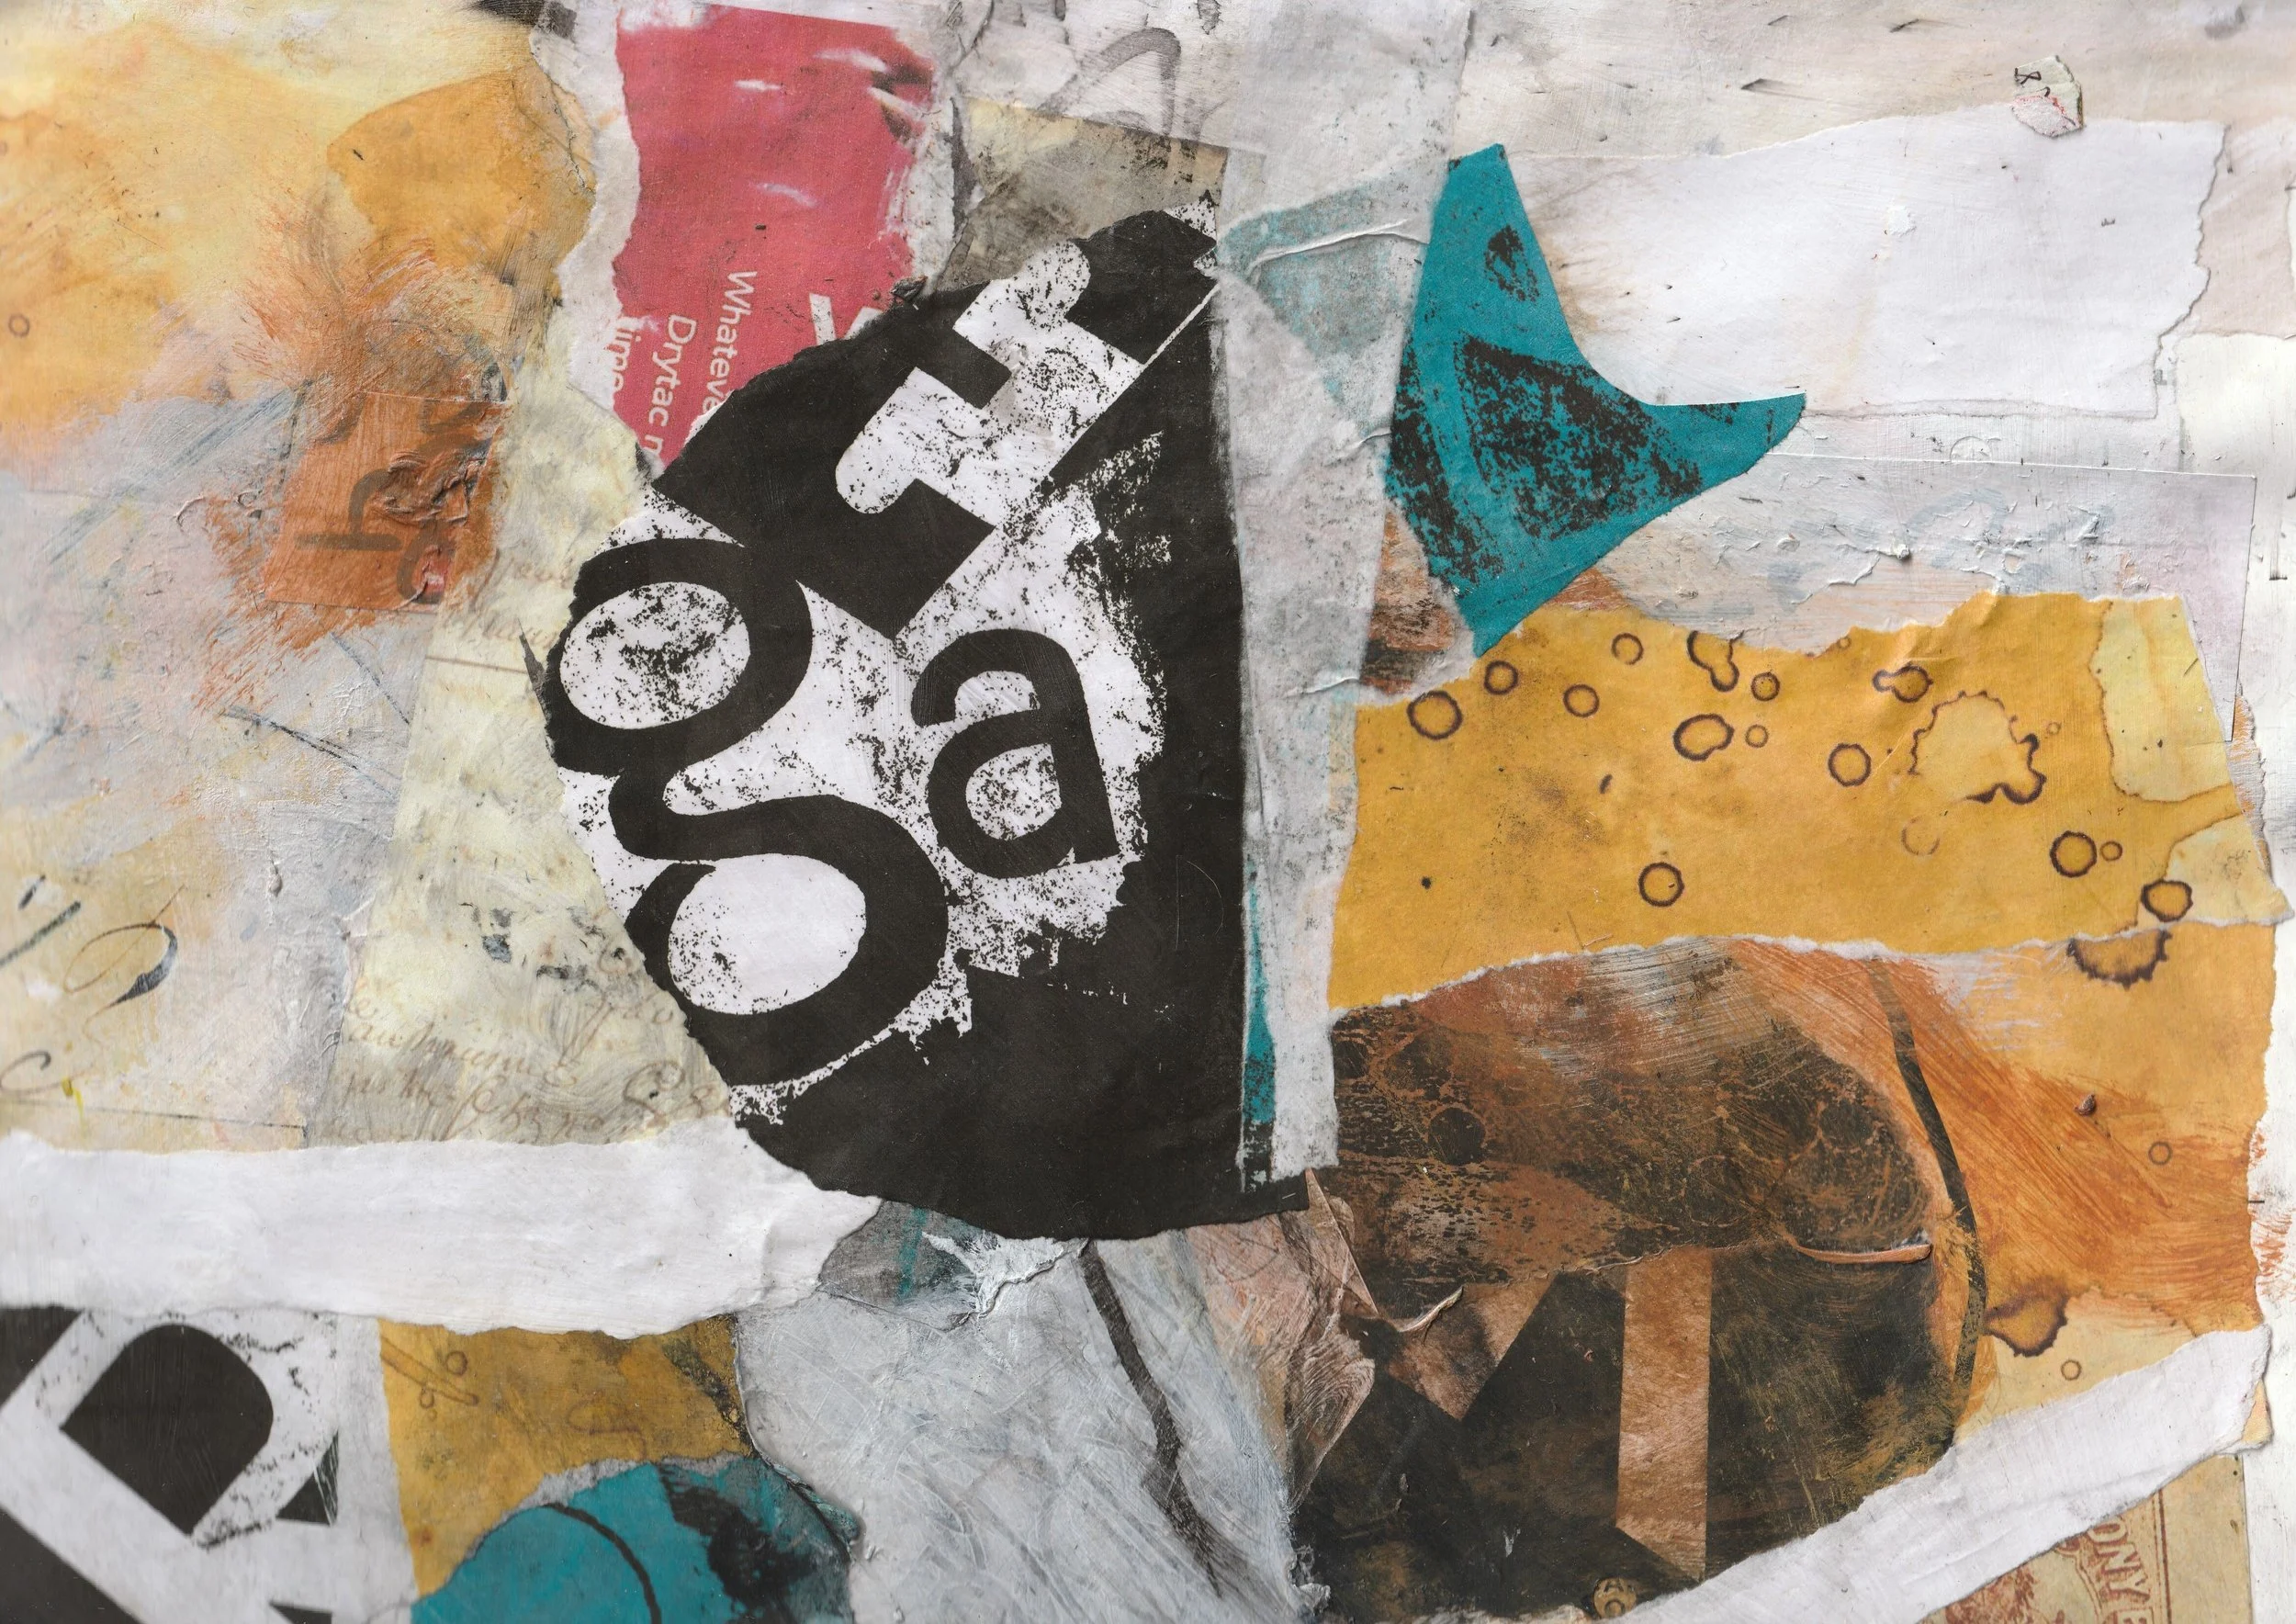
A growing collection of unique print textures
Building Texture and Layered Prints
This is where gel printing really starts to shine.
Instead of aiming for one perfect print, think in layers. Each pass adds depth, transparency, and unexpected overlaps.
Try alternating light and dark colours. Or print over areas that are only partially dry so you get ghost-like impressions underneath.
You don’t need to plan too much here. In fact, the less you plan, the more surprising and interesting the results tend to be.
Common Mistakes and Easy Fixes
If your print looks muddy, it usually means too much wet paint or too many colours at once. Let things dry more between layers and simplify your palette.
If nothing is transferring, you might not be pressing evenly. A gentle, even pressure usually does the trick.
And if everything looks like a mess… that’s not necessarily a problem. Some of the best collage papers start out looking a bit chaotic.
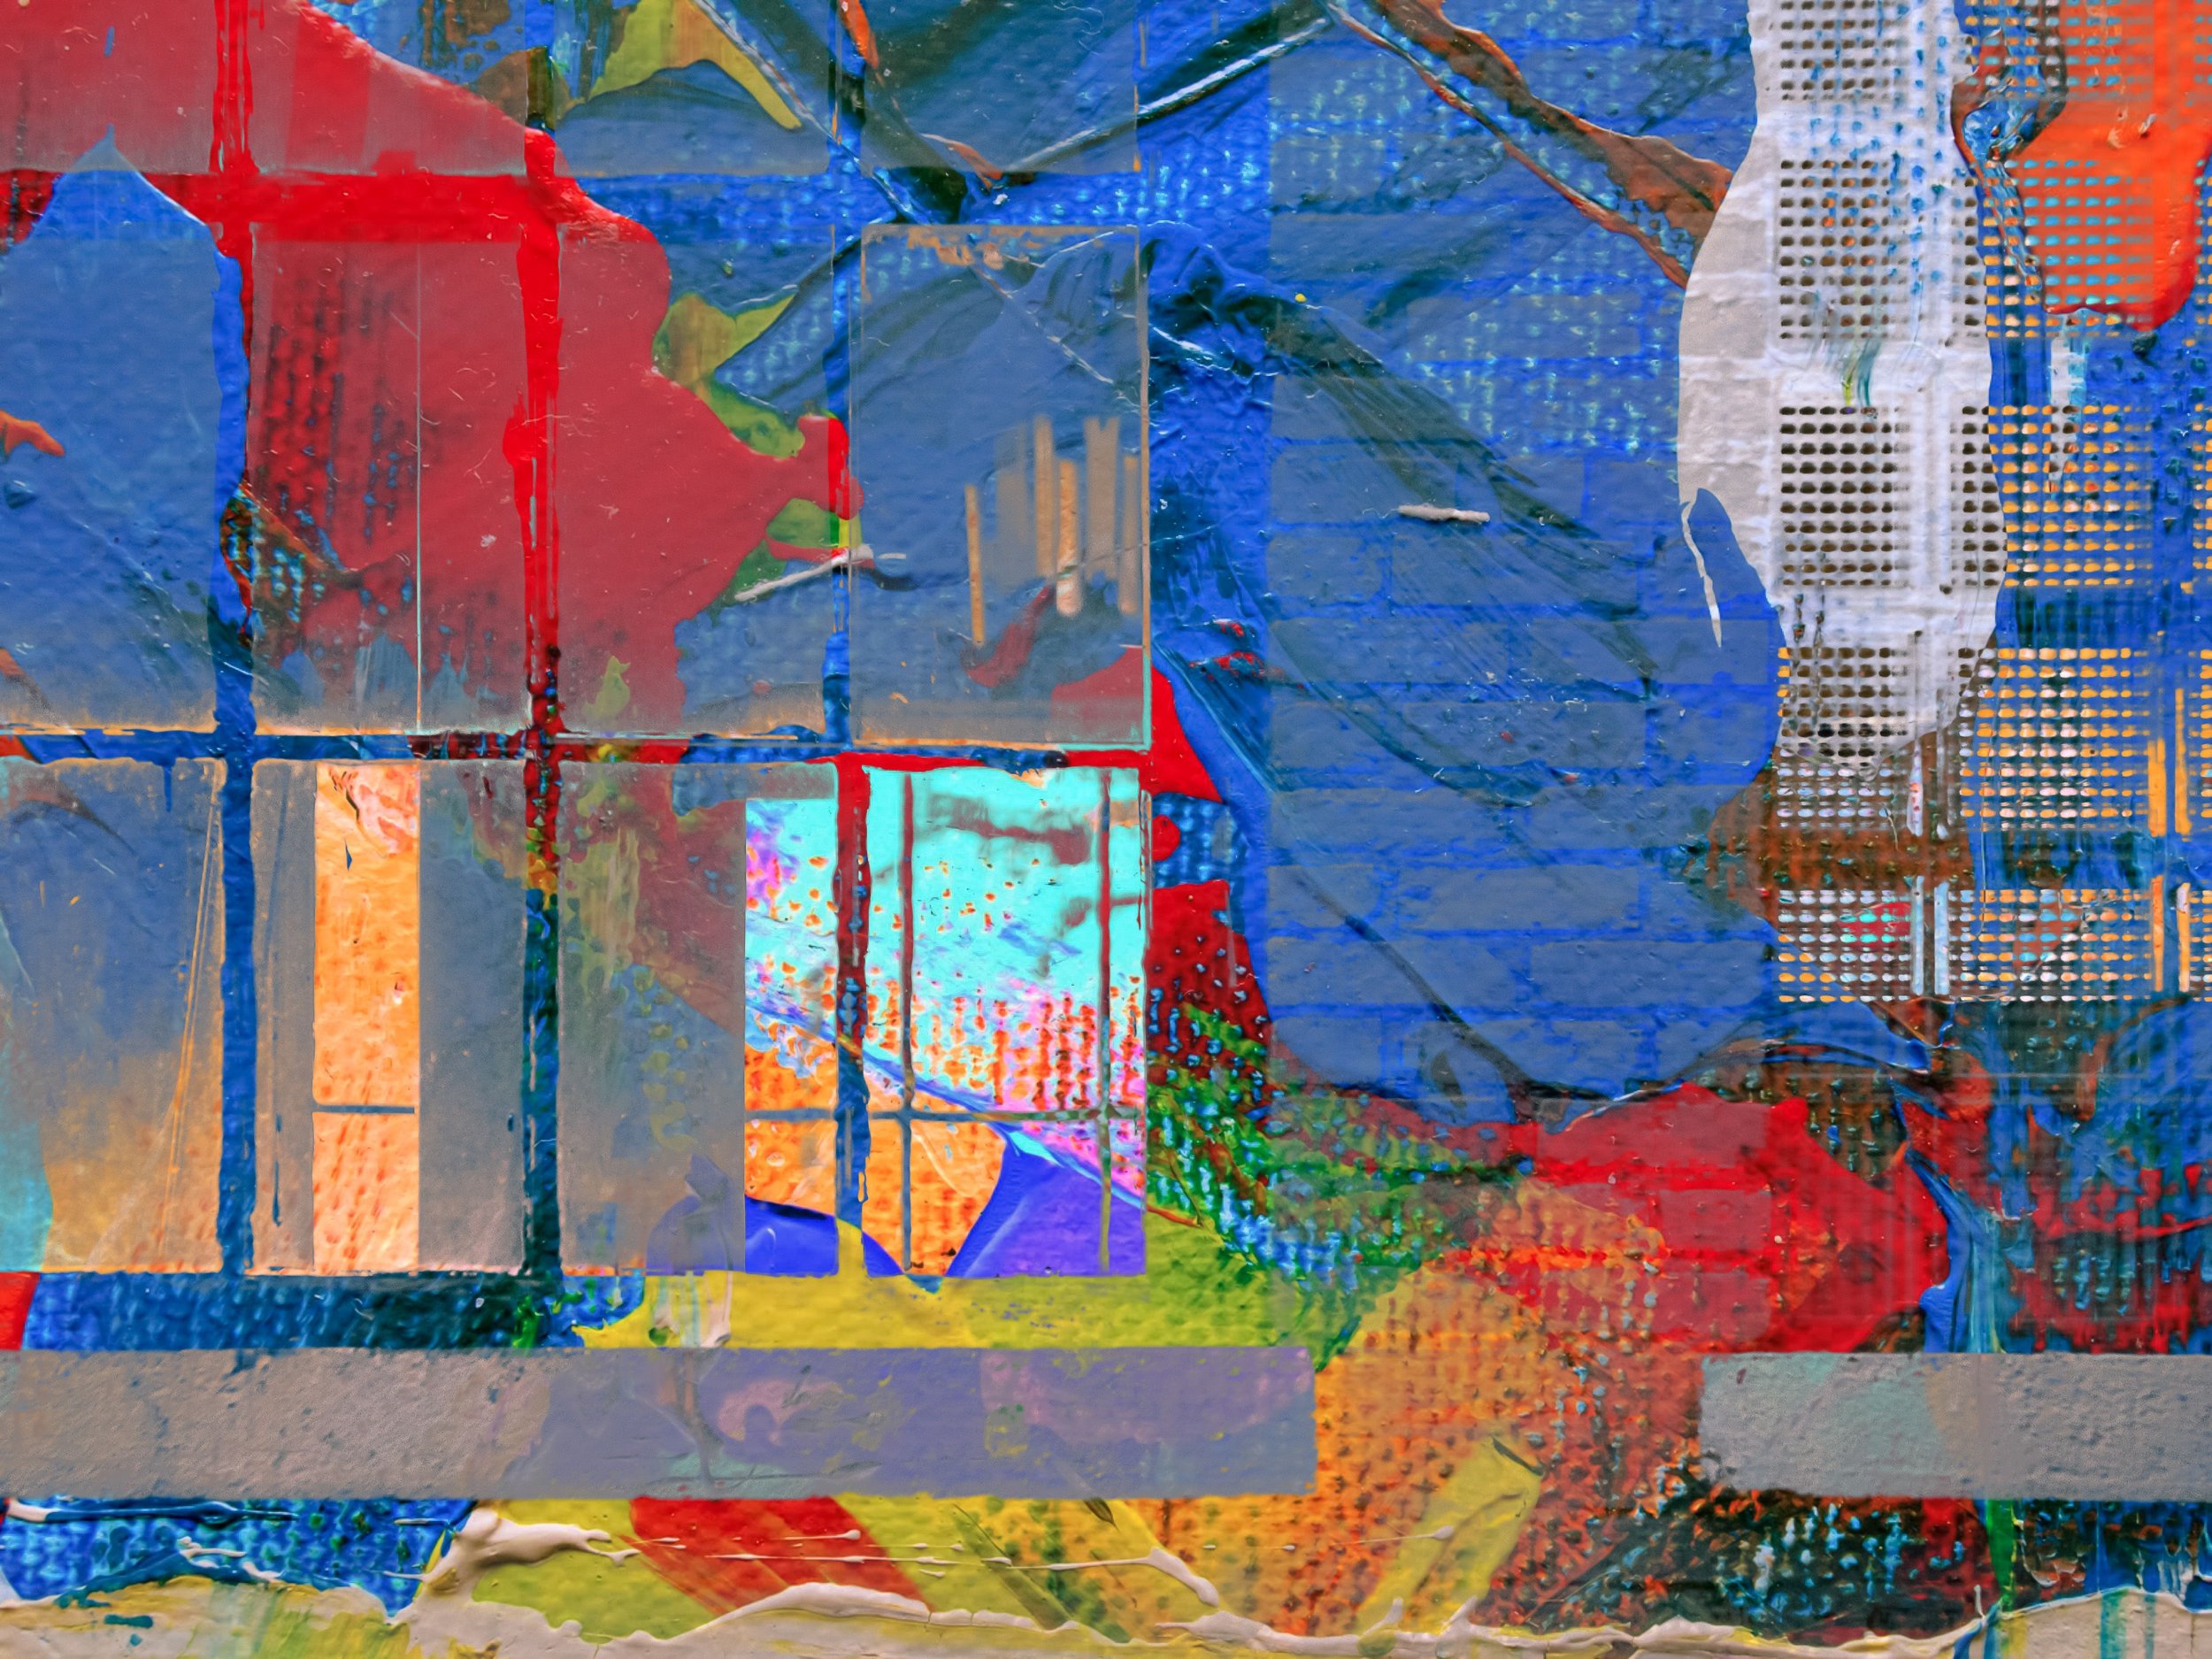
Gel prints finding new life in mixed media work
Using Your Prints in Mixed Media Work
Once you’ve built a stack of prints, you’ve basically created your own custom paper library.
Cut them up, layer them into collage, tear edges for softer transitions, or use them as backgrounds for painted work.
They’re especially useful when you feel stuck, because you already have material ready to go. No staring at a blank page wondering what to do next.
And yes, some prints will be better than others. Keep the ones that make you pause for a second. Those are usually the keepers.